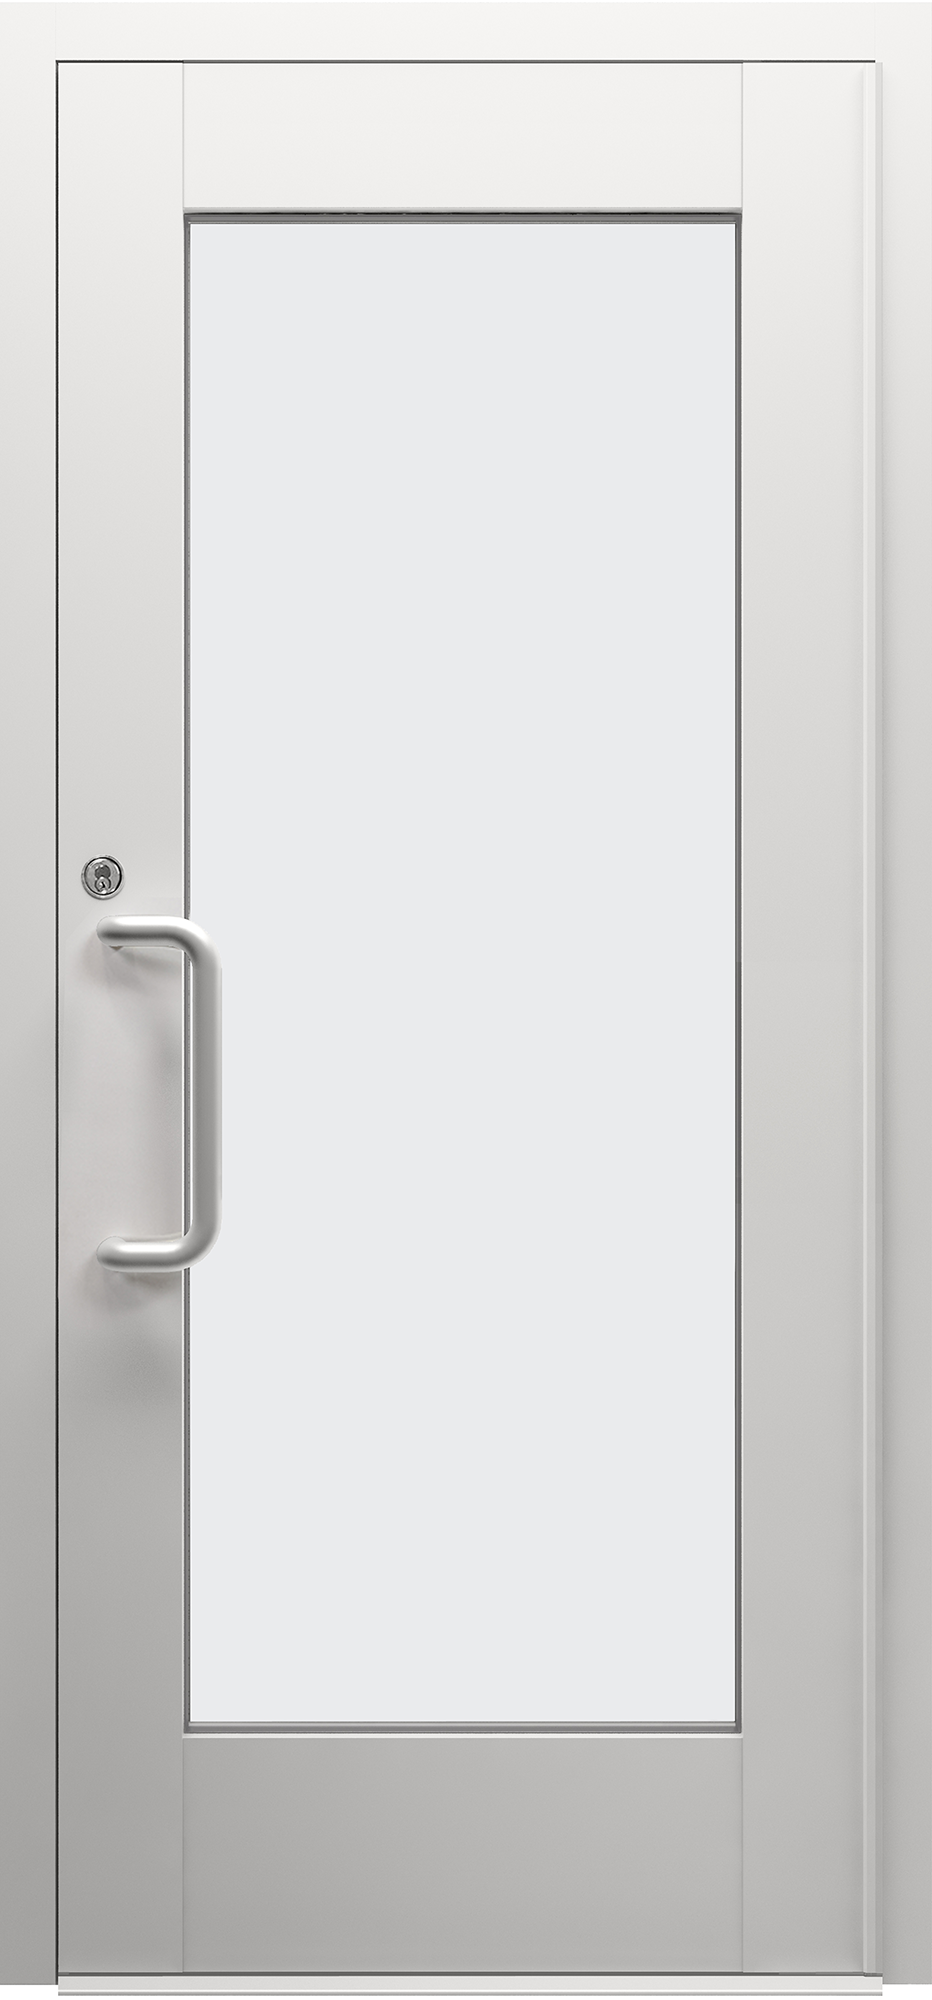
1000 SERIES

USAD 1000 – Forced Entry/Bullet/Blast Resistant Aluminum Door

The 1000 Series is an aluminum ballistic, blast, and forced entry door. These bullet proof entry doors are specifically designed to handle the larger glazing make-ups required for high security applications. These bullet proof glass doors can be provided as a single door or a double door, with narrow or monumental stiles, in a bulletproof sliding door or bulletproof swinging door and can be built with sidelights or a transom around the door to provide a completely cohesive aesthetic appearance. We offer an assortment of options to meet the protection, functionality and aesthetics required for all types of projects. We also offer the 1000 15 R door which is available for high security ballistic and blast protection for your facility.

Full Vision

Half Vision

Double Vision

Opaque

Standard door size: 3’ x 7’ or 39 ½” x 85 ¾” with custom sizes available

Standard frame: 2 ½”W x 4 ½”D

Glazing: 1” to 2-3/16”.

Materials All aluminum extrusion shall be 6063-T5 alloy and temper or equal or with a minimum tensile strength (miniumum 22.0 ksi ultimate, 16.0 ksi yield). All fasteners shall be zinc coated. There shall be no exposed fasteners. The interior glazing gaskets shall be a composition of Thermoplastic Elastomer (TPE 65AB) and Polyolefin Foam Concentrate. (Resulting in a 55 to 65 Shore “A” durometer). Setting blocks shall be solid neoprene (80-90 shore “a” durometer). All neoprene shall be in strict compliance with ASTM C-509-00 Type II Option 1 and C- 864-99.

Standard finish: Clear or bronze anodized (custom Kynar paint, brass cladding, stainless steel cladding available)

Standard door hardware: Heavy-duty continuous hinge, deadbolt lockset with Medico high security cylinder, LCN closer, threshold and push/pull handles. Numerous hardware options are available to meet access and security needs; please consult factory for further information.

Boxing: U.S. Bullet Proofing doors are carefully packed in plywood boxes with internal wood 2” x 4”s. Each unit is cushioned throughout with styrofoam packing to prevent movement inside the box. Each box is marked with the identification of the unit and the shipping address. The weight and cubic feet are indicated. Each box is further marked with “Up” arrows, indicating how the box is to be transported and stored.

Shipping: Each box should be visually inspected from the outside for any damages that may have occurred during shipping. A damaged box will often result in a damaged door, especially in overseas shipping. In the event of damages, photograph the box and notify the factory and the freight company. This must be done within 30 days after receipt of the unit.

Storage: It is not desirable to store units for long periods of time. However, this is often unavoidable due to construction schedules. If the units must be stored, they should be placed in a dry warehouse with moderate temperatures. High temperatures and humidity can cause formation of vapor inside the wrapping, thus causing oxidation or corrosion of parts.

All boxes are to be placed in the upright position as indicated by the up arrows. They should not lean against a wall. The boxes should not be placed in close proximity of new cement or plaster walls.

In the event that water penetrates the storage space, it is recommended that the units be unboxed to prevent internal damage. They should be stored in an upright manner, as if still in the box.

Unpacking: Care should be taken when opening the door box to prevent damage to the unit. Also, persons unpacking the box should be aware that there are loose pieces contained in the box. Care should be exercised not to lose these parts (door closer, lock cylinders with keys, shims, mounting hardware, caulking, instructions and technical data for associated components).

Transparencies: The protected side of the transparency in some instances is polycarbonate and susceptible to scratching. Care should be taken when cleaning these surfaces. Use a mixture of liquid soap and water and clean, soft clothes or sponges for cleaning. The following cleaning agents have been found to be compatible with polycarbonate: Formula 409, Joy, Palmolive Liquid, Top Job, Windex with Ammonia D.

Fresh paint splashes, grease and smeared glazing compounds can be easily removed before drying by rubbing lightly with a good grade of VM&P naphtha, isopropyl alcohol or butyl cello solve (2- butoxy ethanol). Do not use butyl cello solve in direct sunlight.

Using a mild automobile polish can minimize scratches and minor abrasions. Three such products that tend to polish and fill scratches are: Johnson’s Paste Wax, Novus Plastic Polish #1 & #2 (Novus Inc., Minneapolis, MN), and Mirror Glaze Plastic Polish M.G.M10 (Mirror Brite Polish Co., Pasadena, CA). It is suggested that a test be made of a sample with the product selected and that the polish manufacturer’s instruction be followed.

Important Don’ts:

  • DO NOT use abrasive or highly alkaline cleaners on polycarbonate.
  • Never scrape or scrub polycarbonate with squeegees, brushes, razor blades, or other sharp instruments.
  • Taping notices, etc to this surface should be avoided. The tape adheres to the mar resistant coating and peels the coating off when the tape is removed.
  • DO NOT use benzene, gasoline, acetone or carbon tetrachloride on polycarbonate.
  • DO NOT clean polycarbonate in hot sun or at elevated temperatures.
  • In cleaning glass, it is recommended that Windex with Ammonia D or other compatible household window cleaners be used to minimize streaking.

Aluminum: The aluminum trim can be cleaned similar to the transparent surfaces. Isopropyl alcohol can be used for tougher spots. Care should be taken not to scratch the aluminum surface.

Hardware: Maintenance of hardware devices should be in accordance with the manufacturer’s specifications. A common cause of failures in electrical devices is improper electrical connections to a power supply at the job-site. Power spikes and fluctuations can also cause damage. Improper grounding in some countries aggravates this situation. Closely follow hardware manufacturer’s instructions. Mechanical failures are most often caused by excessive amounts of dirt accumulating inside the mechanism. The use of lubricants such as WD40 and the like should be avoided. They act as a magnet in attracting dirt and sand. Another common cause of mechanical malfunctions is when devices are manhandled far beyond the manufacturer’s tolerances. If the locks are in proper adjustment, there is no need to use excessive force to open or close a device.

The most common cause for door malfunctioning is improper installation. The door frames must be plumb and square. Misalignment is easily detected by observing if the locks function freely without hanging up or causing friction binds.

Another point to look for is inconsistency of the closure gap. If the gap is wider at the top than the bottom, the unit is misaligned. However, if the door and locks function freely then no further adjustment is recommended. With the door closer disconnected and the door opened at a 45- degree angle, the leaf should remain in one place. If the door drifts open or closed, then the frame is not level (vertical alignment).

The best way to re-adjust the door frame for lock adjustment is to remove the door stops, thus exposing the mounting bolts. Loosen the bolts and physically move or change the shims to be located between the wall and the outside edge of the frame. Removing shims for one side or adding to the other side will bring the frame in closer or spread further apart. Retighten all bolts upon completion. Re-install the door stops. If the frame is not vertical, then it is recommended that the mounting bolts be removed one at a time and the hole elongated in the direction that the door must be moved. If the door leaf is dragging, then elongate the mounting holes vertically. Gently pry the door frame up until sufficient clearance is obtained. Retighten all bolts upon completion.

The hinges should be checked periodically to ensure that all the screws are tight. Loosening the hinge screws, repositioning the door, and retightening the screws may accomplish some minor adjustment. Another cause for door misalignment (assuming the installation was correct) is settlement of the building and/or the wall not being capable of sustaining the weight and constant movement of the door.

Warranty: All necessary replacement of parts and adjustments not occasioned by accident or misuse shall be made at the vendor’s expense when notified within 30 days after customer receipt of product. All products are warranted for a period of one year from the date of customer receipt. During warranty period, all defects not caused by attack, accident or misuse through fault or negligence by the customer shall be adjusted or replaced at the vendor’s expense (excluding transportation costs).

Disclaimer: In as much as U. S. Bulletproofing has no control over the use to which others may put this material, it does not guarantee that the same results, as those described herein will be obtained. Nor does USBP guarantee the effectiveness or safety of any possible or suggested design as illustrated herein by any photograph, technical drawing and the like. Each user of products or design or both should make his own tests to determine the suitability of the product or design or both for his own particular use.